Getting started with the REST API
Next Inventory has a REST API, so another system can read and change your inventory: an ERP, a web shop, a bespoke back-office tool, a script on a warehouse PC. Anything your staff do on the Items, Stock Movements, Transfers or Adjustments screens, an integration can do too.
The API runs on Joomla's own Web Services application, so it lives on your site and needs no separate server or service.
1. Check the API is switched on
Open Next Inventory → App Manager → Integrations. API Tokens is on by default. Switching it off refuses every token request at once; the Next Inventory screens keep working.
It relies on two Joomla plugins, Web Services - Next Inventory (the REST routes) and System - Next Inventory API Tokens (tokens on the administrator task URLs). Switching the app on in App Manager switches both on (for users Joomla allows to change plugins, such as Super Users), so App Manager is the only control you need. If one is switched off by hand in System → Plugins, the REST API page and the App Manager card show a warning with a one-click Enable / Repair button.
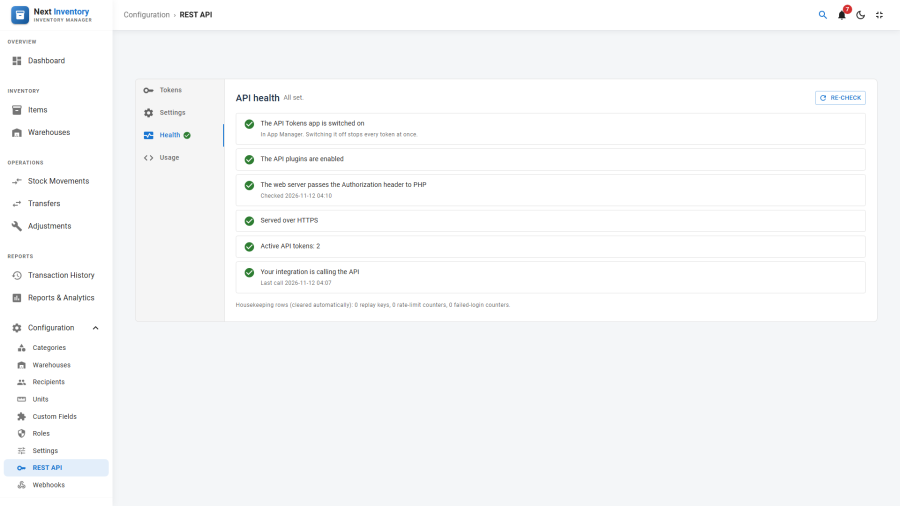
The Health tab of Configuration → REST API walks you through the rest as numbered steps:
the plugins, whether your web server passes the Authorization header to PHP (some shared hosts
remove it; it sends one real request to find out and shows the fix for your server), HTTPS, your
first token and your first API call. Done steps are ticked; the next one is highlighted with the
button that does it. The tab's label shows the state without opening it (red exclamation mark:
broken; amber: steps left; green tick: done; hover it for the reason). Once a token is active, a problem that stops every integration is also shown
as a red banner on every Next Inventory screen to users who manage settings, until it is fixed.
2. Create a token
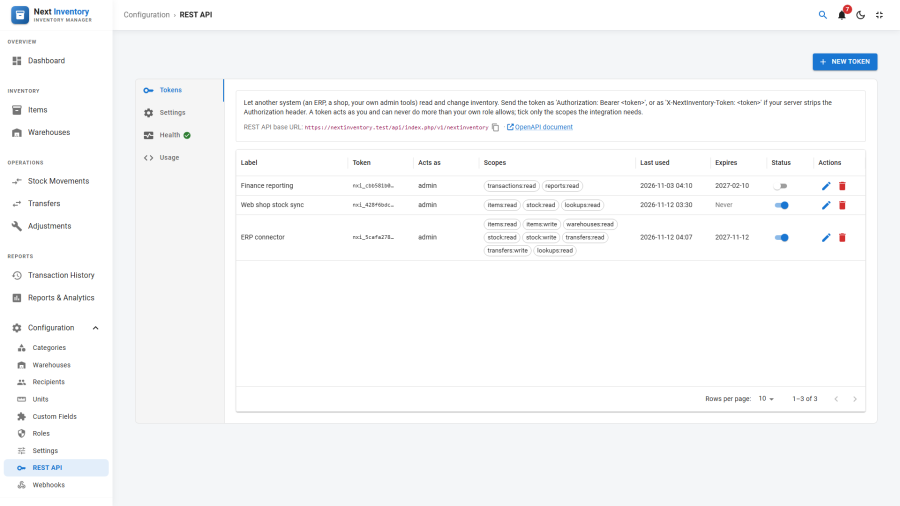
- Go to Configuration → REST API, open the Tokens tab and click New token.
- Give it a label that says which system uses it (for example Back-office admin system).
- Tick the scopes it needs. Read only and Everything are quick presets.
- Choose when it expires: no expiry (the default), after 30, 60 or 90 days, 6 months or a year, or on a specific date picked from the calendar.
- Click Create token and copy the token now. It is shown only once.
A token acts as you, the user who created it. It can never do more than your own Next Inventory role allows, whatever its scopes say. For an integration, create a dedicated Joomla user with a role that allows exactly what the integration needs, sign in as that user, and create the token there. See Best practices.
3. Make your first call
The Usage tab of the REST API page has these examples with your own site's address filled in, each with a Copy button.
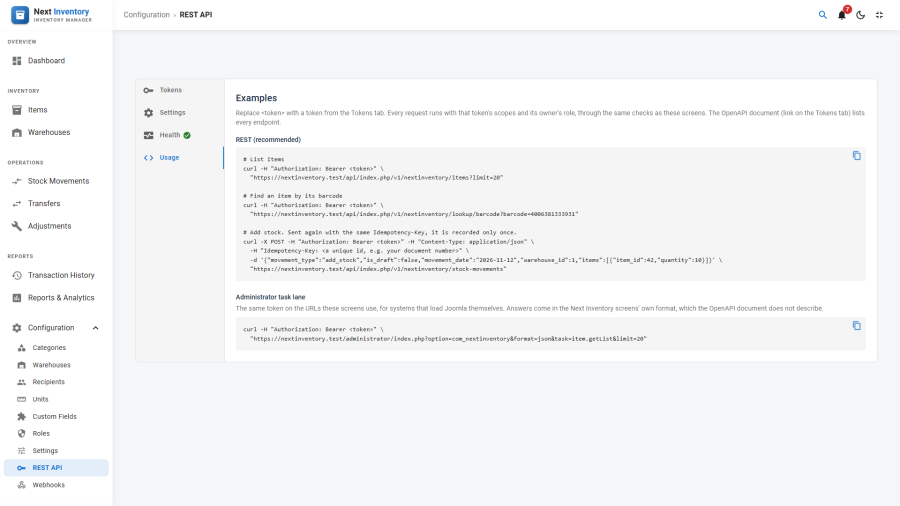
curl https://example.com/api/index.php/v1/nextinventory/items?limit=5 \
  -H "Authorization: Bearer nxi_your_token_here"
{
"data": [
{ "id": 17, "title": "A4 Copy Paper", "item_type": "consumable", "sku": "OFFC-001",
"stock_quantity": 26.0, "unit_price": 6.87, "low_stock_threshold": 18.0, "...": "..." }
],
"meta": { "total": 412 }
}If your server strips the Authorization header (some Apache + PHP-FPM setups do), send the
token as X-NextInventory-Token: nxi_… instead. Both are accepted everywhere.
4. Record a stock change
Stock is never changed by editing an item's quantity. It changes through stock movements, transfers and adjustments, the same way it does on screen. Each one writes a row to the ledger and keeps FIFO/LIFO cost layers correct.
curl -X POST https://example.com/api/index.php/v1/nextinventory/stock-movements \
  -H "Authorization: Bearer nxi_your_token_here" \
  -H "Content-Type: application/json" \
  -d '{
        "movement_type": "add_stock",
        "is_draft": false,
        "movement_date": "2026-11-11",
        "warehouse_id": 1,
        "reference": "PO-1042",
        "items": [ { "item_id": 17, "quantity": 40, "cost_per_unit": 3.20 } ]
      }'
"is_draft": false finalizes the movement in the same call. Leave it out to create a draft, then
finalize it with POST /stock-movements/{id}/finalize.
The OpenAPI document
Every site serves a machine-readable description of the whole API at:
https://example.com/media/com_nextinventory/openapi.yamlLoad it into Postman, Insomnia or Swagger UI, or generate a client library from it. The link is
also on the Tokens tab of the REST API page, and its Usage tab has ready-to-copy curl examples with
your site's address filled in.
Integrating from PHP inside Joomla
If your admin system already loads the Joomla framework, you can still use the REST API over
HTTP; it is the supported contract. The same token also works on the task lane,
administrator/index.php?option=com_nextinventory&format=json&task=<controller.task>. That is
the interface the Next Inventory screens themselves call. It is not described by OpenAPI, so
prefer REST unless you need a task REST does not expose.
Next
- Conventions: response shapes, errors, paging, partial updates
- Endpoint details: every endpoint, with the scope it needs
- Best practices
- Webhooks: let Next Inventory tell your system when stock changes